Sunday, December 18, 2016

A colorful omni tempore


My son's wardrobe was getting a bit monotonous, and since he will usually wear anything I make him (unlike his big sister), I decided it was time to do some bold color-combining.
So I took a dive into my fabric stash and reappeared with a blue, yellow and pink knit, some teal and orange ribcord. Finally I found the patterned fabric that was used for his Stylo outfit, and that combines all the other colors.
I chose the Omni Tempore sweater, by Sofilantjes, a Dutch pattern designer with a line of fun (unisex) patterns. A nice pattern with a hood and cowl option. 
I had sewn the hooded version before, and wanted to try out the cowl version this time. 
I sewed a size 9 for my tall 6-year old. It's quite roomy (it fits perfectly on my 8-year old daughter), but thanks to the sleeve cuffs and bottom band, it doesn't look too oversized. 
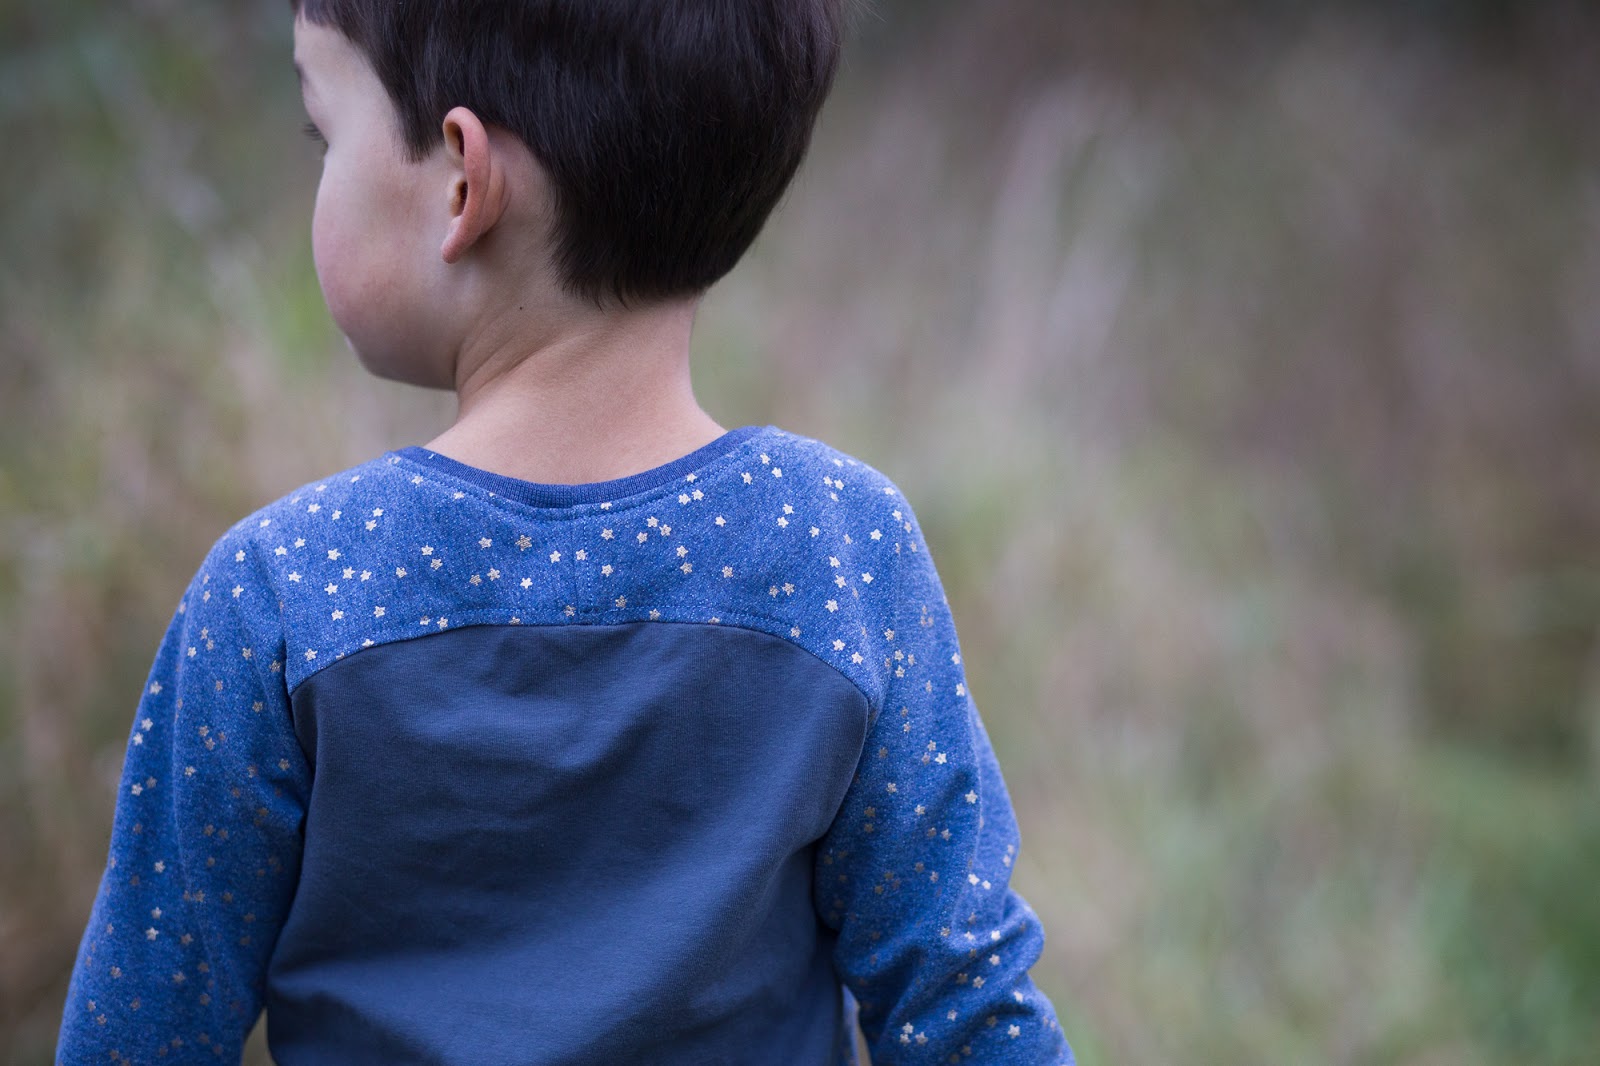
The photos were taken near some characteristic buildings and in a churchyard. Unfortunately, my son was not his usual cheerful self, hence all the cropped photos ;-) 
It's a beautiful location, that I also used for the Stylo photoshoot. So fun to see how much he has grown in the meantime.
The new sweater is a hit. my son has worn it for days in a row now. He loves it and so do I. 


Sunday, November 6, 2016

Bethioua-addict

Last month, I finally sewed something for myself; a Bethioua shirt. As I was sewing that shirt, I already got an idea for a second one, inspired by these pins.
My daughter and I went to the fabric market to find a red plaid fabric; "mooie rooie zachte ruitjesstof" (beautiful, red, soft plaid fabric) according to my daughter. I was looking for something similar to the fabric in the left photo, but couldn't find anything like it, so I settled with a traditional tartan fabric: a wool-viscose blend. It's soft and supple, but without any stretch. However, as the Bethioua runs quite wide, I figured that would be no problem. For the front and sleeves I used some burgundy knit.
This was my 10th(!) Bethioua, thus sewing the shirt was a breeze.
Happy with my new shirt!

Tuesday, October 11, 2016

Twig +Tale blog tour

A while ago, I was asked to participate in the blog tour of Twig + Tale; which is the new name of Big Little patterns. I didn't need to think long before answering with a clear Yes! I mean, patterns that are drafted in a treehouse studio hidden within the New Zealand forest, those must be good, right? 
This is how Lisa, Twig + Tale's founder, describes her company: 
"Twig & Tale is [...] a celebration of the innocence of childhood and the wonder of nature. It's about comfy clothes and warm things like hugs and capes and coats. It's about handmade, love, and imaginary play—featuring classic, simple patterns that inspire us all to tell a story."

These words speak right to my heart. In my sewing I draw a lot of inspiration from nature; it's expressed in my colour combinations and in my fabric choices. So I was more than happy to join this blog tour and try out one of the Twig + Tale patterns.
I decided to sew something for the 2-year old daughter of friends. a little curly-haired pixie who loves to be outdoors. So what better than to sew a Pixie Pea Coat for her, in which she can roam the autumn forest in style? 
The blog tour was sponsored by Art Gallery, who generously provided the fabric. I spent hours browsing their website, drooling over so many beautiful and colourful designs, but in the end I chose this grey owl fabric (Owly Boo knit from the Wonderland collection) for the lining. It's simple but cute, and I figured it would contrast nicely with the warm autumn tones that I planned to use for the outside.   
I would have loved to use wool as the main fabric, but couldn't find any suitable fabric at my local fabric market. So I chose some baby rib instead. To add some visual interest I colourblocked the bodice and sleeves. This required some extra effort, but I'm very pleased with the result.
An other adaptation I made was to add a strip of rib fabric to the outer rim of the hood lining, as well as to the bottom hem. Since I was using knit fabric for the lining, I was afraid that there would be some puckering when attaching the main fabric to the lining. It gives the coat a nice finished look, and I like the additional pop of colour on the inside.
The coat is described as suitable for 'adventurous beginners' and I fully agree. The sewing is uncomplicated and the instructions are clear and straightforward. Without my alterations, I could have finished the coat in one evening. I sewed the size 3, and it's a bit roomy for her now (it fit my 3-year old perfectly). With a bit of luck she can still wear it next autumn...
Well, that wraps it up. I truly enjoyed participating in this blog tour, and I envision some more Pixie Pea Coats in the near future. Now go check out what all the other participants have made. I promise you some serious eye candy.


And last but not least, what would a Blog Tour be without a giveaway!
Art Gallery Fabrics is kindly sponsoring 2 yards of Art Gallery fabric of your choice. To make the prize extra sweet, we are also adding a collection of 5 Twig + Tale patterns of your choice.
International entries are very welcome. Our bloggers come from every corner of the world to celebrate the global nature of Twig +Tale too.
Enter using the rafflecopter below.
(The winning entry will be checked to ensure all criteria are met).

Sunday, October 9, 2016

Näh Connection shop blog tour - and my debut

Hi all, today I'm part of the Näh Connection shop blog tour. My friend Annika is building intercontinental bridges by translating patterns from English to German, and as of now, from German to English. To celebrate that the first set of patterns is now available in her shop, she is hosting a blog tour, with people all over the world (the Näh Connection Ambassadors) introducing fun German patterns. 
 For me, this was the trigger to finally do something that I never dared to do before: sewing for myself....
One of the patterns in Annika's shop is the Bethioua shirt. I've already made several versions of this shirt over the summer (including this raccoon shirt, this tiger shirt, this striped version and this one with penguins), and , and really love the pattern. So I decided that this would be my debut shirt. 
On the fabric market I spotted this fun blue sweat fabric with golden stars. I planned to get only enough for a shirt for me, but got the last 3 meters of the bolt with a nice discount.
With that much fabric on my hands and patterns in two kid sizes already available, what else to do than to sew the Bethioua pattern three times for some serious twinning (or should this be called tripling?)
My middle son explicitly mentioned that he didn't want a matchy shirt, but he did want to be our photographer...
Which resulted in some interesting, but fun crops...
I must say I was feeling pretty self-conscious in front of the camera instead of behind it, but we were having a lot of fun together and my son managed to get some great shots...
Since the pattern is quite wide, and I prefer a more fitted shirt, I cut out one size smaller than instructed based on my measurements (38 instead of 40), I took in another cm at the sides, and now it's just right. I tried hemming the shirt, but wasn't satisfied with the result, so added a band instead. Much better...
My daughter's got a copy of my shirt, with stars all over. 
For my son, I decided to spice it up a bit. I added yellow cuffs and used some solid blue fabric for the back, to emphasize the back yoke.
Since my kids are tall and slender, I used the free Bethioua mini pattern for my son, but lengthened it significantly (about 10 cm). Fits nicely with some room to grow.
Now, I hope to have convinced you to take a look at Annika's shop to see which other patterns she has in stock. Be quick, because right now you get a nice discount if you buy more than one pattern:

Buy 1, save 10 % with code “buy1save10naehconnection”
Buy 2, save 20% with code “buy2save20naehconnection”
Buy 3 or more, save 30% with code “buy3ormoresave30naehconnection“

 or buy all and save 50% (separate product for the pattern bundle)

Sunday, August 28, 2016

Another jeans refashion

Hi all! Have you heard of The Refashioners? It's an annual series hosted by Portia at makery.uk. This year, the theme is jeans. During the whole month of August guest bloggers show their inspiring creations. But there is also a sew-along, and since I love refashioning (especially denim), I decided to play along. So I went to the thrift store and returned with these two jeans...
Which I turned into this jacket...
I figured it would be hard to top my previous jeans refashion, but wanted to give it a try nevertheless. So I decided to make a denim 'military-inspired' jacket. I wanted to use the typical features of a military jacket -triangular cuffs, shoulder pads, and the (what's it called?) button placket- but in a subtle way. Furthermore, I wanted to reuse the original jeans details, but in such a way that they really got a new purpose, without the jacket looking obviously refashioned.
Thus, I went to the thrift store to find two pairs of jeans with similar weight and in different shades of blue. I used the lighter pair for the bodice and triangular cuffs, and the darker pair for the sleeves, button placket, collar and reverse applique at the front. To accentuate the features, I used bright red and gold topstitching thread. Initially I used regular thread, but I'm really glad I switched to topstitching thread. It really defines those features and adds a nice pop of color.
In my attempt to give the original details of the jeans a new purpose, I removed the zippers from both jeans and added them to the sleeve cuffs. 
Furthermore, I cut the back panel from one of the legs, with the characteristic inner seam in the center.
And I reused belt loops and buttons to keep the shoulder patches in place.
The inside was lined in yellow knit and red cotton, both from my stash. 
I added ribbing on the inside of the sleeve cuffs, to make them extra soft and comfortable. 

The jacket closes with a zipper (from my stash). The buttons are purely decorative... To be honest, I'm still a bit afraid of button holes, and I figured a zipper would be much more kid-friendly.
 The pattern is self-drafted. I originally drafted the pattern for the circus jacket that I sewed last winter. For this jacket, I adapted the sleeves, added the button placket and waistband.
 It was a fun puzzle to create the jacket, involving many 'magical' turning moments like this one...
... sewing the sleeve lining to the outer sleeve. 
I'm happy with the result, and so is my daughter! (Yes, that's a marshmallow in her hand... her payment for the photoshoot)
Thanks for the challenge, Portia!